LATE SUMMER 2018 PROJECT PROFILE:
PAINTING BRICK IN CAMP HILL, PA 17011
TIRED BRICK GETS A MAKEOVER…
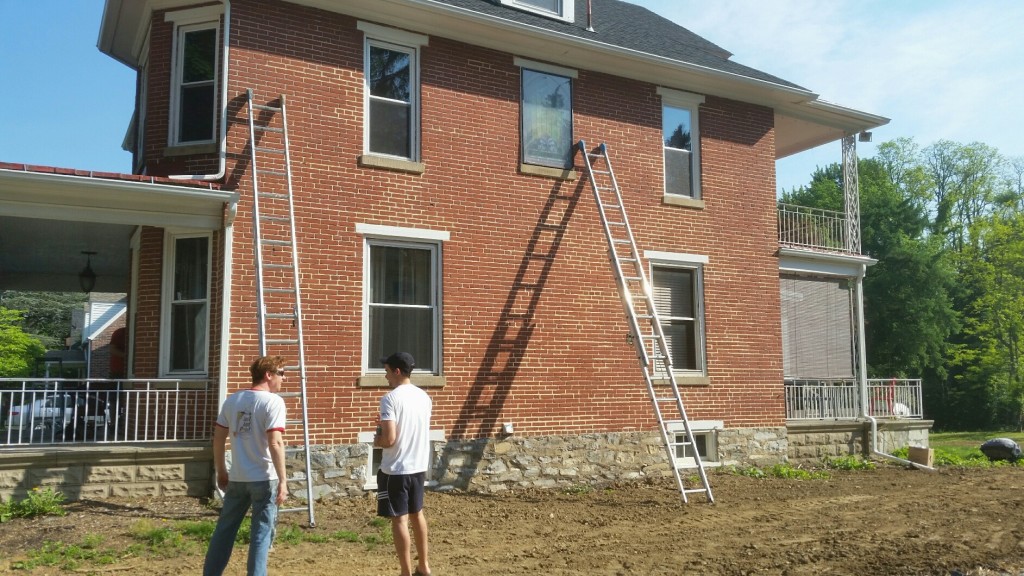
Reason for Client Contact: We were contacted by the new owner of a GORGEOUS, historic Camp Hill home with questions about painting brick. Our client had just completed an addition to the house to make room for his growing family, and he wanted to bring the red brick areas of the house “up to date” in a way that kept the feel of brick, but matched the more modern color palette of the addition. His second goal was to help preserve the brick, which was still in good shape, but was just beginning to deteriorate. He heard about Just Add Paint from another client, and after researching us on Angieslist.com and viewing our Facebook page, he decided we looked like a good match for his project and gave us a call.
Services to be Utilized:
-
Complete Priming and Painting Brick Surfaces on exterior of house: We started by cleaning all soiled areas of the brick by hand. (The home was exceptionally clean from a recent power washing, so this step was just an added precaution). Next, we filled all cracks and small areas of damage on the bricks with an elastomeric filler product. We utilized Valspar Exterior All Weather Primer/Sealer as a first coat on all brick surfaces. Finally, we applied 2 finish coats with Valspar Duramax Exterior Paint in a satin finish – which we use when we need the thickest, most durable coating available. This was a priority, given that protecting the brick was one of the main goals of the paint work. We were sure to allow a proper dry time between all coats, which is especially important in exteriors to achieve full hardness. Applying coats too quickly can cause the paints to “reactivate”, and give a less durable coating than it should from the number of coats provided. I mention this because in summer months it can be tempting to re-coat exteriors when they feel dry to the touch, but allowing paint to dry fully will give the finished product a longer life span.
-
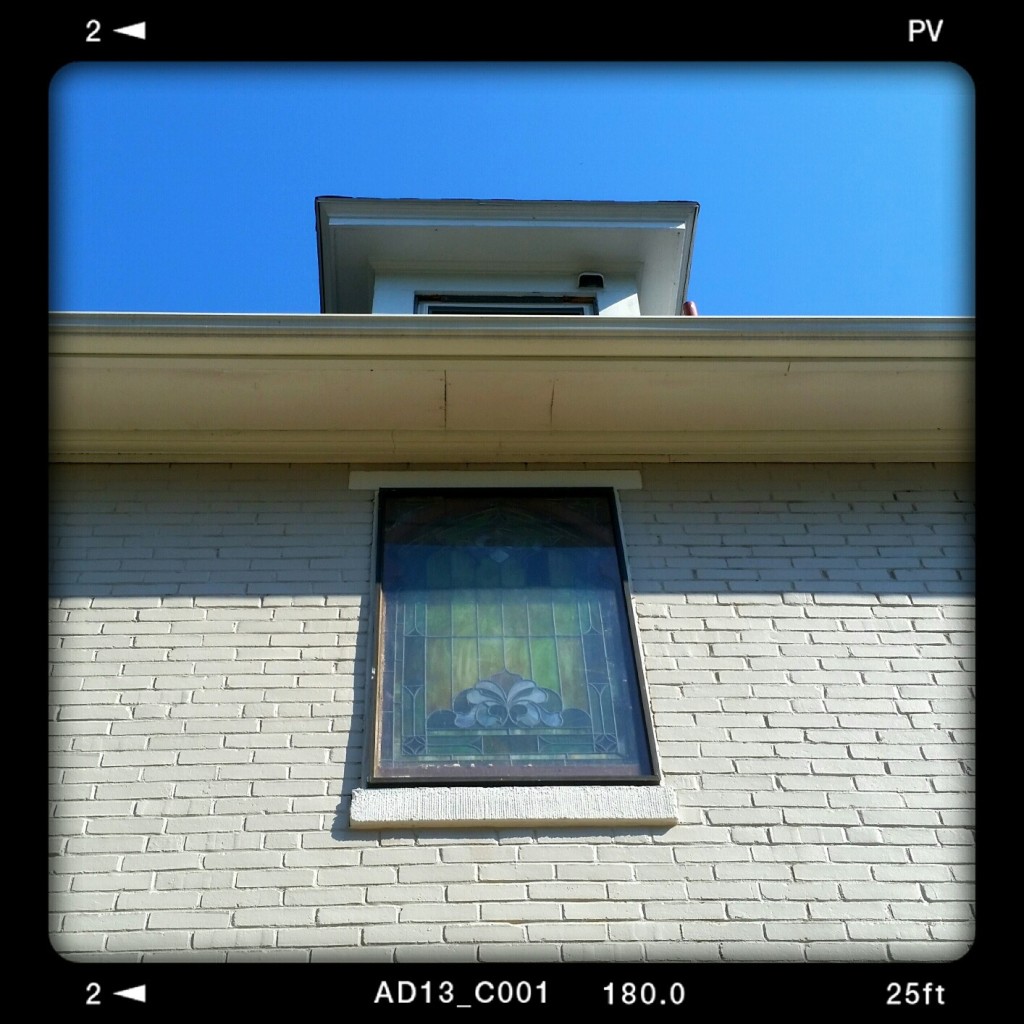
Complete Repair, Priming, and Painting of all Wood Window Frames: This may seem like a secondary consideration given the huge scope of the rest of the brick painting project, but the windows were extremely weathered, and some bordered on needing a full restoration. We approached this portion of the job with the attitude that the weathered wood frames needed to look in every way as good as the rest of the work, despite the bricks being in much better shape. This required a lengthy repair process. We begun by preparing the area with heavy duty plastic to protect the landscaping and keep a clean work space. The next step was scraping old paint from the windows and removing any lose areas completely. We then used our Festool dustless sanding/vacuum system to sand all areas. We applied an oil-based primer in order to seal and protect all bare wood areas with the best protection available. After this, we applied elastomeric caulk in some spots to lessen visible ridges between areas with original paint and areas that were bare wood after surface preparation. (This process has the huge additional advantage of encapsulating all the rest of the original paint with an additional layer of sealant). We then used caulk saver/backer rod, (a foam tube for filling large cracks, the 3/8″ and 1/2 variations are usually best for this application) and several layers of elastomeric caulk to completely reseal all areas that we cracked out between the window frames and brick, and between the boards on the frames themselves. Finally, we applied two coats of a Sherwin Williams Exterior Emerald in Semi-Gloss for the cleanest looking, most durable, longest lasting finish possible.
-
Valspar Exterior All Weather Primer/Sealer: We use this primer for areas where we need a material thick through to provide some build, but also thin enough that it can be worked into tighter cracks. It provides extremely high adhesion and bonding to support our final top coat product.
-
Valspar Duramax Exterior Paint: This is our “go-to” paint on all exteriors based on extremely thick coverage, excellent durability, and extreme resistance to fading over time. This is of particular importance with deeper colors, and Duramax has saved us a 3rd coat on many occasions where its competitors would have given us trouble.
-
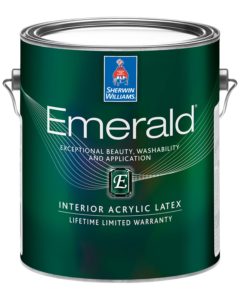
Sherwin Williams Emerald Exterior Trim Paint: This paint was used for all repaired window frames, and all other trim areas including door frames and wooden columns. We love the durability of this product, as well as the extreme shine and durability of the finish. This product remains very easy to clean, and is extremely resistant to mildew and fading.
Materials Utilized:
- Simple Green cleaning products mixed with mildicide additive. We utilize Simple Green when cleaning sensitive surfaces which could be discolored or damaged by bleach containing products, or when environmentally friendly surface cleaner / degreasers are needed.
- Sherwin Williams 1” thick roller covers, and Purdy ¾” microfiber roller covers.
- Sherwin Williams 4” mini whizz microfiber roller covers
- Bercom Red 1 gallon paint trays with liners and Bercom Handy Roller paint buckets with liners
- Sherwin Williams Terminator oil-based primer. (Aerosol and Gallons.)
- Sherwin Williams Maxflex / Sherflex Elastomeric Caulk
- Caulk Saver/Backer Rod foam crack filler, 3/8” and 1/2”
- Festool HEPA (Lead Certified) Dust Extractor Dustless Vacuum Sanding System. We utilize this in 100% of our jobs, because it guarantees the safest, cleanest environment possible any time sanding is necessary (whether the material is toxic or not). It is always better to have dust captured rather than being released into the environment. These things are expensive, but we can’t imagine not using them- we try to live by the rule, “better safe than sorry!”
Challenges of the Job:
-
Weather is always challenge number one when painting exteriors: In this case, the weather cooperated for the most part. In addition to planning well with the timing of this exterior job, we also took the precaution of using quick drying products, such as using aerosol spray primer rather than a roll on variety. (The dry time for one is about 5 minutes, for the other is about 8 hours.) This is where knowledge of our available options helps greatly- we are able to get the same high quality result in less time, while always using the best products available and NEVER having to cut corners.
-
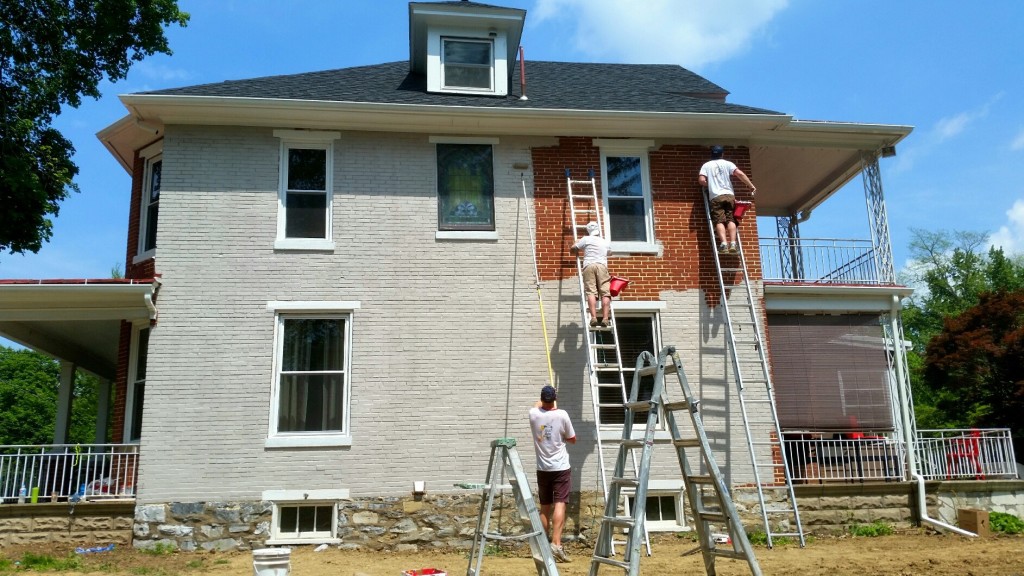
Extremely quick soak-in of paint products applied to brick surfaces: This is usually only a difficulty on the first and / or second coat- but we must still be careful to work fast enough so we ALWAYS roll only over paint that is still wet (known in the industry as “keeping a wet edge”. This helps us to avoid any visible “line up” on the surface, which indicates that the paint was applied after the area overlapping it was already dry. As seen in the photographs, we often had 3 or more team members working on the same area together, in order to make certain that all paint was applied quickly enough that there was no visible line up what so ever. This is another technique we utilize in order to guarantee the highest possible quality for our final product.
The Outcome: We are very happy to say that the client was thrilled with the result. We were also quite happy, and were thankful we got the call for this job. We love working on older houses, and were glad to be able to bring a modern touch to the home, without removing the classic feel that made it so special in the first place. We think the results were lovely, and we hope you agree! Please visit our Facebook page and www.facebook.com/Justaddpaint or website www.justaddpaint.net for more projects on both classic and modern homes.
This article was written by W. Grant Tankersley for Just Add Paint

