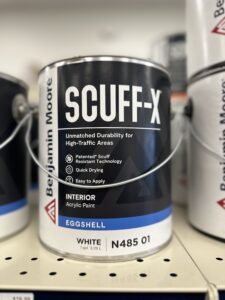
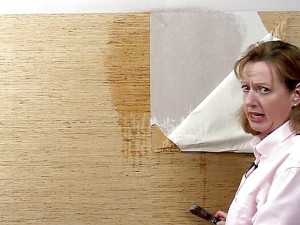
There’s nothing quite as soul-crushingly annoying as starting a painting project, only to realize you’re missing the essentials and have to dash to Home Depot mid-brushstroke. Who first said that? No idea. But I personally chant this mantra every single time I start a project without a checklist. Sure, life has its curveballs—missing studs, weirdly textured walls—but a good checklist? That’s your first line of defense against chaos.
So here’s my House Painting Supply Checklist—with a twist of humor to ease your pre-painting panic.
1. High-Quality Paintbrush
This one’s obvious—you’re not finger-painting here. Get yourself a solid brush from brands like Wooster, Purdy, or Corona. Think of it as the magic wand of painting. Without it, you’re just smearing regrets across your walls. A 2″ or 2-1/2″ brush is great for the DIYer and pro alike. PRO TIP: After the initial learning curve, a lot of painters find it easier to paint a straight line with a larger brush. Go big or go home!
2. High-Quality 9″ Roller Cover
Cheap rollers shed more than a nervous cat. Invest in a microfiber roller cover, and you’ll thank me for the smooth, streak-free finish. Bonus: less swearing when you realize it holds paint like a dream. PRO TIP: Microfiber roller covers hold a lot of paint and are very forgiving. A 3/8″ or 1/2″ nap will both work well. Use as little pressure as possible for the highest-quality finish. Arroworhty is our favorite brand if you can find it.
3. Heavy-Duty Roller Cage
Flimsy cages are the devil’s work. A good roller cage ensures even pressure, so your walls don’t end up looking like a toddler’s abstract art masterpiece.
4. Extension Pole
Yes, you can probably paint a standard room without a pole, but please don’t! Unless, of course, you enjoy the sensation of your neck turning into a corkscrew. It saves your spine and your sanity. Trust me, you’ll feel like a painting ninja. A 2-4′ adjustable pole works best for most regular house painting. If you’re cheap, at the very least grab a 4 ft wood pole.
5. Ladder or Step Stool
Even if you’re tall enough to “almost” reach the ceiling, don’t do it. That’s how injuries and uneven edges happen. Bonus points for a ladder that doesn’t wobble like a Jenga tower. PRO TIP: A 2′ ladder is usually high enough to reach the ceiling, but a 4′ ladder is more versatile and helps reach greater heights. 4′ ladders also feel safer and harder to take a misstep from for those not used to ladders. Always check the weight capacity of a ladder before climbing on.
6. Paint Tray & Liners
Look, you could skip the liner, but then you’d end up scrubbing dried paint off a tray for hours. Do you enjoy unnecessary suffering? No? Then get some liners. PRO TIP: I recommend HANDy Pail brand. They make a lightweight plastic tray that won’t scratch hardwood floors.
7. Drop Cloth(s)
Unless you want Jackson Pollock floors, throw down a good drop cloth. An 8 oz drop cloth is basically just a napkin. Most professional painters I know prefer 10oz or 12 oz. A lighter weight drop cloth will protect the floor from spritz, but may allow paint to reach the floor in the event of a spill.
8. Furniture Sliders
Moving furniture sucks, but painting around it is worse. With sliders, you can push that heavy couch like a superhero. No cape required.
9. Painter’s Plastic
For those big, immovable items, cover them up like you’re preparing for a Dexter episode. Lightweight plastic works fine—just tape it down unless you want a paint-covered kite flying around.
10. Painter’s Tape
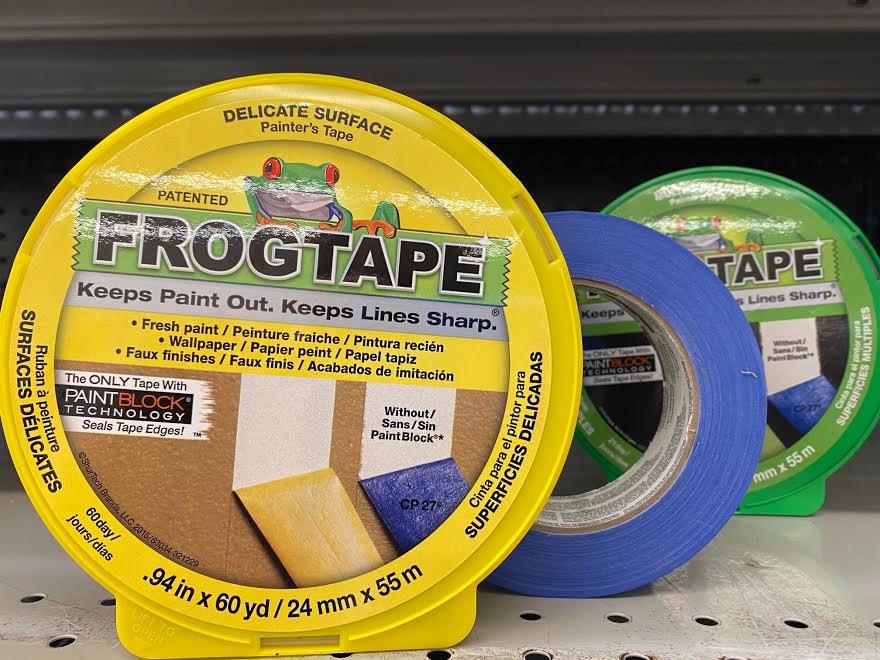
Ah, painter’s tape—the DIYer’s best friend. PRO TIP: Use the blue Frog Tape (high-tack) for sharp edges on your baseboards. Use yellow (low-tack) Frog Tape for sharp edges on your walls. The 1 1/2″ size is big enough to be helpful, and not so big that it’s in the way. And remember, your tape job reflects your personality: are you meticulous or chaotic?
11. Stir Stick
Yes, paint comes shaken like a cocktail from the paint store. But paint separates faster than your New Year’s resolutions. Stir it. Paddle attachments for drills are even better—because power tools make everything cooler.
12. Spackle & Knife
Spoiler alert: no wall is perfect. Spackle those holes and cracks, sand it smooth, and don’t use your finger unless you want a Picasso-level mess. PRO TIP: Get a spackle that has primer in it, such as 3M Small Hole Repair. This will help the patched area blend seamlessly with unpatched areas.
13. Caulk
No, paint won’t fill that gap. Stop dreaming. Make sure you are buying “paintable” caulk, and ideally, get something elastomeric (elastomeric caulk stays somewhat flexible when dry and is less likely to crack out than regular acrylic/latex caulk.) Alex Flex Caulk is a favorite of mine. The extra $1 for Alex is well worth it for peace of mind.
14. Sanding Block/Sponge
A good sanding block of sponge will smooth out imperfections and your nerves. The only disadvantage over a piece of sandpaper is it will not fit in your pocket. PRO TIP: Get one that it doesn’t feel like you’re holding a razor blade. Check the grit – you will want something in the middle that is not so abrasive that it scratches up the walls like an old record. 120-180 grit should work well.
15. 5-in-1 Painter’s Tool
This tool is the Swiss Army knife of painting. Open paint cans, scrape walls, remove nails, scrape paint from your roller cover back into the can, and even channel your inner MacGyver. PRO TIP: Use the back end of a 5 in 1 tool to push the edges of nail holes/dings into the wall to avoid seeing the patch. Any area being patched should be slightly recessed into the wall (unless it is a larger patch requiring drywall tape and/or you want to see bumps through your fresh coat of paint. I didn’t think so).
16. Cleaning Solution
Because mistakes happen (and by “mistakes,” I mean paint splatters). A bit of Dawn dish soap is a great thing to have handy to save your floors and your dignity. For something a little heavier-duty, try Krud Kutter. This citrus-based solution is bio-degradable and works wonders on grease/handprints, and scuff marks from annoying, poorly behaved children or vacuums.
17. Rags
You can never have too many rags. They’re like the duct tape of cleaning—good for everything. Take it one step further by having a small trash can available for said dirty rags.
Optional (But Awesome) Add-Ons
- Paint Pot/Pail: More portable than a full can and comes with a magnet for your brush. Fancy, right? Being able to use it with a 4″ mini-roller is an added bonus.
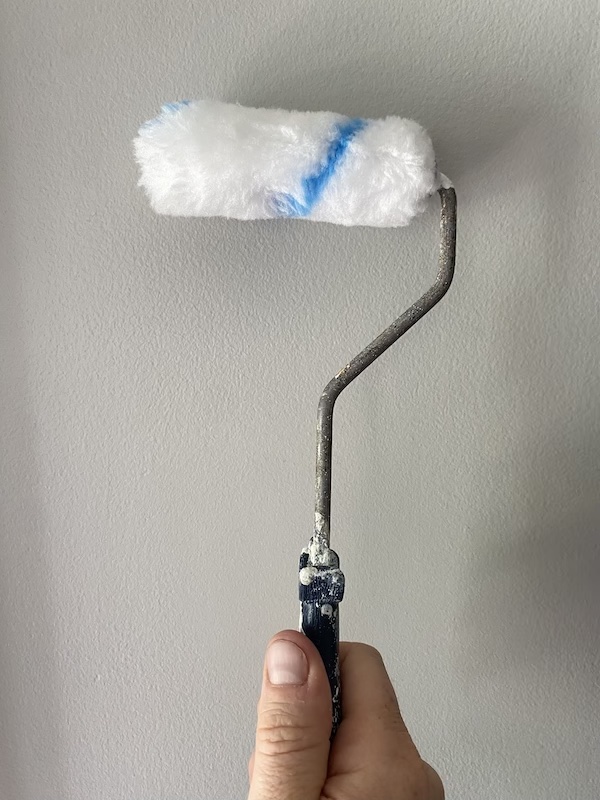
- 4″ Mini Roller: Perfect for doors, trim, and those weird spots you forgot existed. Also works wonders blending brush and roller texture. Ideally, get one that is the same nap as your 9″ roller cover.
- Gloves: Avoid looking like you got into a paint fight.
- Dust Mask: Protect those lungs—you’ll need them for yelling at the next project. In all seriousness (because safety is no joke), the N95 is a great option. A respirator with a charcoal filter is best if using chemicals or aerosol or if you are sensitive to paint fumes. 3M half-face respirators are a great option and commonly seen on professionals.
- Aerosol Primer: Quick, cheap, and effective for spot priming. Rustoleum and Sherwin Willimas (ProBlock) both have great options.
- Goggles: Because paint in your eye is a whole vibe—just not a good one. Consider protective eyewear, especially when painting overhead.
- Spring-Loaded Nail Set. This is one of my favorite tools to carry because it saves the need to carry a hammer. Great for setting random nails the carpenter missed or did not quite get countersunk due to coming in to work hungover.
- Brush Comb. A paintbrush comb is helpful for brush cleaning and also helps keep your bristles straight. In desperate times, this tool doubles as a hair comb.
- Utility Knife: You never know when you will need a utility knife (other than the obvious of every time you don’t have one).
- Coffee Maker. This is technically not a painting supply, but more of a daily-use life item for all tasks that actually require completion. Painting is difficult enough without a quick jolt of caffeine to help you along. So please don’t suffer needlessly.
There you have it—a house painting checklist so good, even Murphy’s Law can’t ruin your painting project. Now, go forth and paint like the DIY warrior you are! 🖌️
Thank you for reading our blog “The Agony of DIY: My House Painting Supply Checklist”. Please feel free to reach out to us for estimates – and also if you are a DIYer and just have some questions we can answer in an email. We are happy to talk shop about all things painting, even if you are planning to do a job yourself!


