Let’s face it: Hiring a professional for ANYTHING these days is EXPENSIVE. So much so that I recently attempted to change out a toilet at my own home. This, of course, turned out to be a nightmare that became even more expensive (evidently, pinholes in copper can cause problems and require a welder to fix.) While plumbing, electrical work, and car engines are best left to professionals, HOUSE PAINTING is one task that most people can tackle on their own. Yes, it is incredibly time-consuming if it is not something you do every day. But there are many hacks and tricks of the trade that can save the average DIYer countless hours. Here is Just Add Paint’s Top 10 Painting Hacks For for DIY (how to paint like a pro)
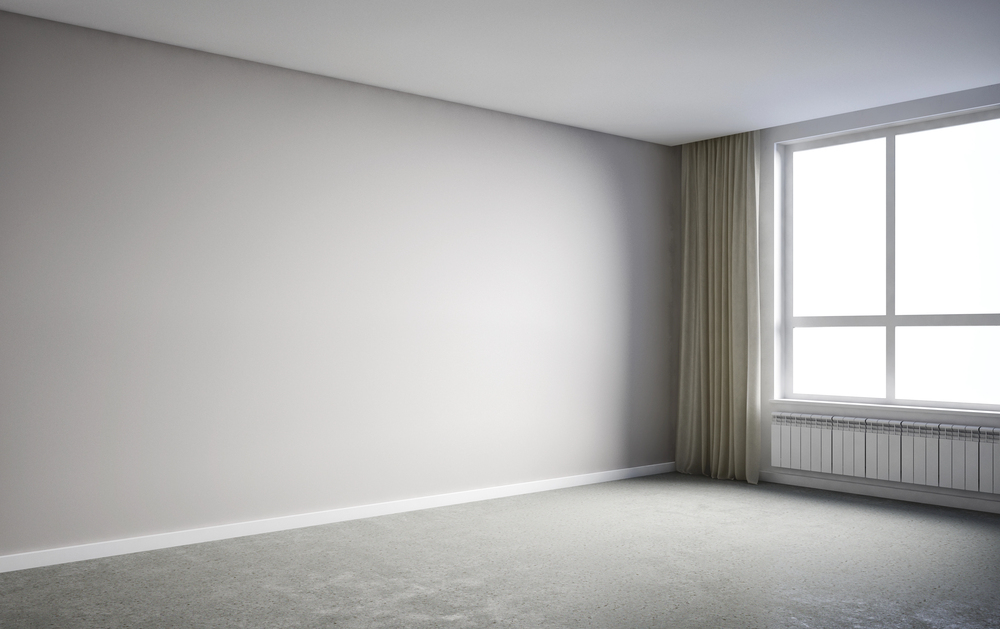
1. Don’t skimp on prep! It is tempting to think that painting a wall will help hide imperfections. DON’T BE FOOLED! A high-quality coating usually magnifies imperfections. Proper prep includes poles sanding walls, filling holes and divots with spackle, and caulking all cracked seams. A good degreaser, such as Krud Kutter, should be used to clean trim wood before sanding. And by all means, cover furniture and floors with plastic and drop cloths.
2. Do remove furniture from the room, and have plenty of furniture sliders. It is not always possible to remove all furniture in a room. But the more cleared out the room is, the faster the painting will go. Moving furniture to the middle is not always best. When painting the ceiling, furniture is often more out of the way when pushed along the walls.
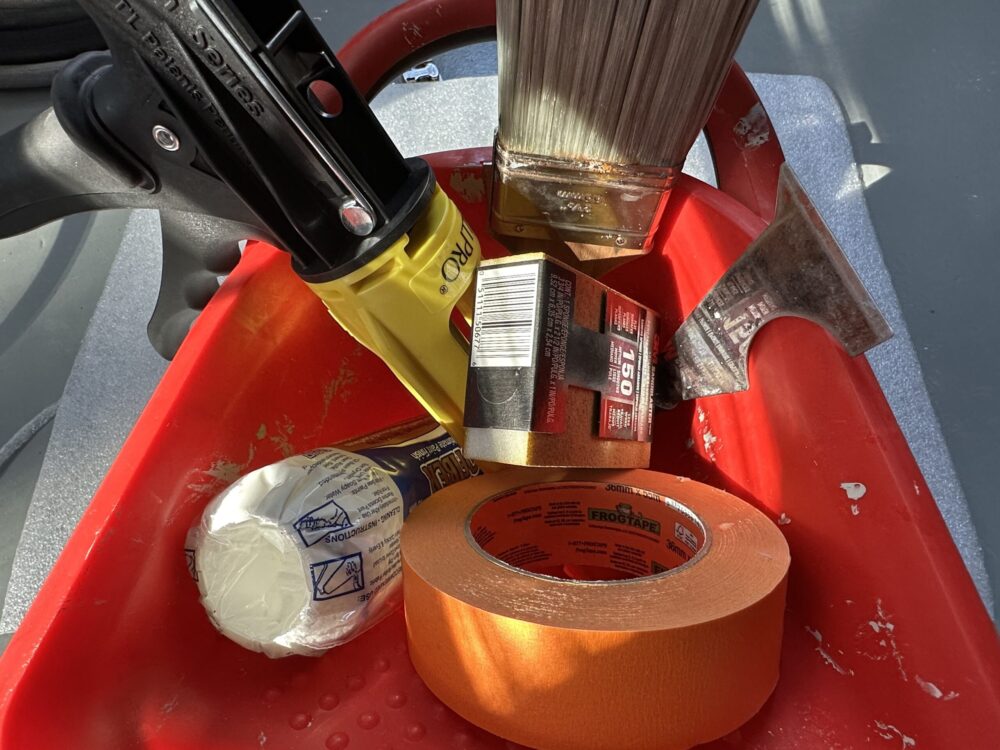
3. Good tools save time and money. Countless tools are available to make house painting easier and less time-consuming. Buy as many of them as you can afford. Some of our favorites include:
- 5 in painter’s tool
- Microfiber roller covers for higher capacity and a smooth finish
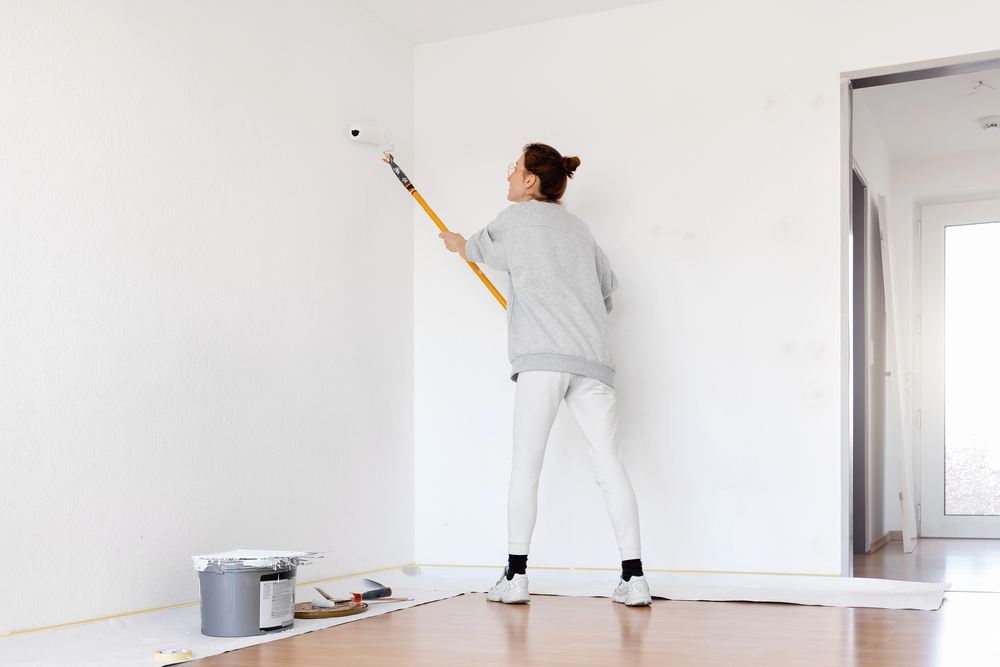
- 2-4′ paint pole
- Spring loaded nail set
- Dripless caulk gun
- Aerosol oil-based primer
- 4″ mini roller
- Sanding sponge
- Purdy Pail (or similar) cut pot
4. Buy Frog Tape instead of the cheaper painter’s tape. This is quite literally the best extra $1 you can invest to save time when painting. The only way to avoid incredibly annoying bleed-though on the side of the tape line is by using tape with a chemical that blocks it. And those touch-ups can take more time to than the taping did in the 1st place. Yes, other brands of tape have paint-blocking technology, but none of them do it as well as frog tape. A quick tutorial: Use yellow tape for delicate surfaces (walls and floors). Blue for medium surfaces (trim), and orange for hard-to-stick surfaces. For more info, please read our full write-up on frog tape: https://www.justaddpaint.net/frog-tape-vs-painters-tape
5. Tape off your roller cover to remove the lint. If you are wondering why there are loose filaments in even the most high-end roller covers, so are we! It does not seem like rocket science, but I have yet to encounter a roller cover that does not have loose fibers on it. This may not seem like a big deal, but those fibers will destroy a freshly painted wall. You will thank me at the end of the job when you aren’t starting over due to a messy finish. Remove lint by attaching a piece of tape to the bottom of your shoe. Hold the tape roll in your hand directly above your shot. Use the other hand to roll your roller cover up and down until all fibers disappear from the tape. This often takes several passes; repeat as many times as necessary.
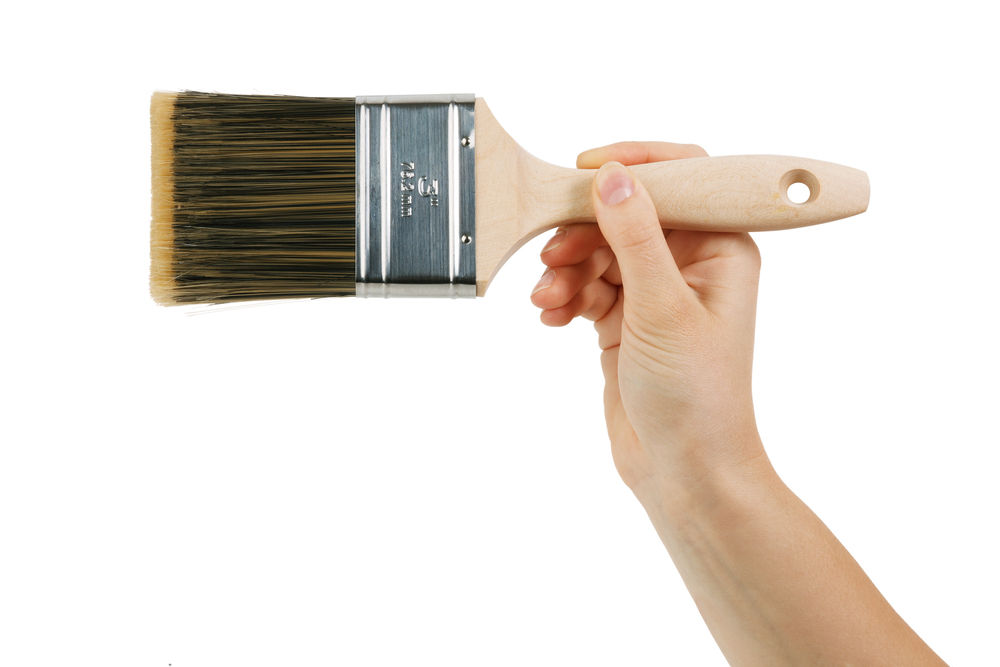
6. Buy a paintbrush that holds enough paint. It may seem counter-intuitive for a beginner to buy a large paintbrush, but they are actually easier to use. I recommend not going any smaller than 2″, and ideally use a 2.5″. There will be a learning curve, but longer strokes lead to straighter lines since the brush does not get lifted up as often. Professionals will paint a line 3-4′ or longer without lifting their brush off the wall. Also on the subject of brushes, spend the money to get a nice one. More expensive brushes tend to be made from higher quality bristles that hold and release better. Wooster, Purdy, Benjamin Moore, and Corona are popular brands used by pros, and for good reason.
7. Use air circulation to your advantage. Have you ever painted a wall, and wondered why your paint has little “boogies” in it? This is often due to a fan in the room or open window blowing air across your paint tray. Keep fans off and windows closed (or cracked very slightly) while applying paint. Turn on fans or open windows only when the walls are complete, and the paint tray has been covered. Indirect air is often better than direct air to ensure the paint does not flash dry before it has a chance to chemically attach. Also, make sure your room is dust-free before turning on a fan and potentially blowing debris into your freshly painted walls.
8. Don’t waste money on primer. Primer is not necessary for most typical house painting unless a specific problem needs to be addressed. High-quality paint and primer in one type of paint are usually better and less time-consuming solution. Issues that may require a particular primer include: Sealing a wall that has had wallpaper removed from it, painting over oil-based paint, and sealing in smoke or water damage. Vibrant colors may also require a primer to seal or undercoat them (grey primer underneath red paint). If you don’t have one of these situations, stick with a good paint and primer in one and save yourself time, money, and energy.
9. Use natural light instead of a work light. Don’t get caught up in finding and fixing imperfections only seen with unnatural lighting sources. Floor lighting and pole lights often make imperfections visible that cannot be seen with natural, existing light in a room. Rely on natural light to see areas that need attention.
10. (Drumroll please…) Spend money on good paint. For those of us who paint professionally, this is one of the first lessons we learn. High-quality paint is worth its weight in gold. It requires fewer coats, is usually easier to apply, is more durable, retains its color better, and simply lasts longer. Get an eggshell or satin finish for walls if you like to clean them, semi-gloss for trim and doors. And by all means, watch for paint sales, and/or open up a contractor’s account. Every little bit counts, and sales often put high end paint at a similar price paint to mid-grade.
Thank you for reading our blog “Top 10 Painting Hacks For DIY (how to paint like a pro)”. Please feel free to reach out to us for estimates – and also if you are a DIYer and just have some questions we can answer in an email. We are happy to talk shop about all things painting, even if you are planning to do a job yourself!


